RGDPS Editor Guide How to Use the Level Editor (2026)
Have you ever played an RGDPS Geometry Dash level and thought, I could build something better than this? That feeling is exactly why the RGDPS editor exists. It gives you the tools to turn your ideas into real, playable levels that other players can experience.
If you have never used a level editor before, it can feel a bit overwhelming at first. There are blocks, triggers, effects, layers, and a whole menu of options you have probably never seen. But once you understand the basics, building levels becomes one of the most enjoyable parts of using RGDPS. This guide walks you through everything from opening the editor for the first time to publishing your first level for the community to play.
Getting Into the RGDPS Editor
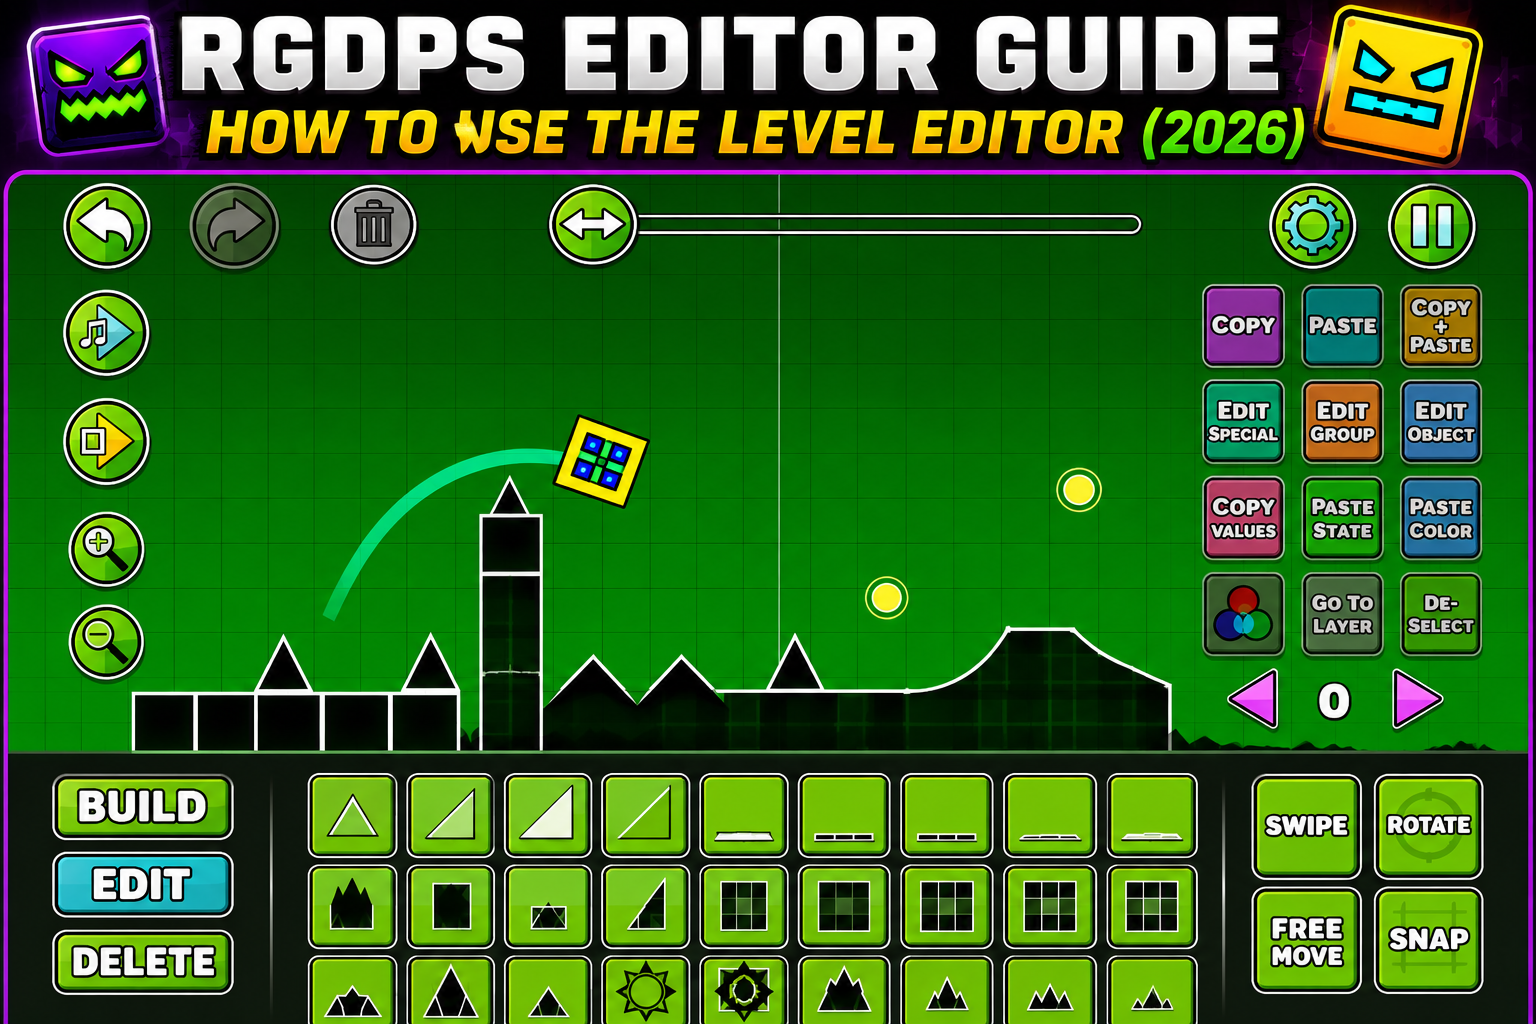
When you open RGDPS, you will see the option to create a new level from the main menu. Tap it, give your level a name, and you will land directly inside the editor. The first time you see it, the screen might look busy. There is a toolbar across the top with different categories of objects, a timeline at the bottom showing your level’s progress, and the main canvas in the middle where you actually build.
Take a moment to just look around before placing anything. Tap through the different tabs in the object panel to see what is available. You will find blocks, spikes, platforms, decorations, special blocks like jump pads and portals, and trigger objects that control things like color changes, camera movement, and gameplay effects.
Placing Your First Objects
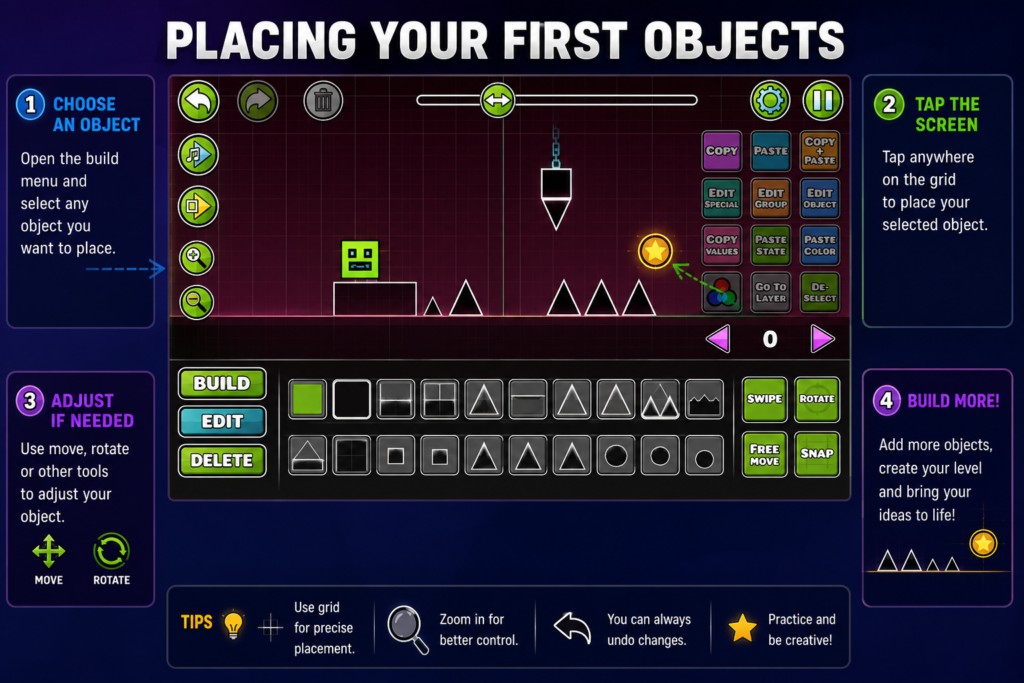
Building a level starts with the basics. Tap on a block from the object panel, and it will appear on your canvas. From there you can drag it into position, resize it if needed, and rotate it using the rotation handle.
Most new creators start by laying out a simple ground path using basic blocks, then adding obstacles like spikes along the way. This is a good approach because it lets you get comfortable with placement and spacing before moving into more complex design.
One thing that trips up a lot of beginners is forgetting to check how a level actually plays. Use the playtest button often. Build a small section, test it, see how it feels, then continue. Building an entire level without testing it is a common mistake that leads to frustrating surprises later.
Understanding the Grid and Snapping
The editor uses a grid system to help you place objects precisely. By default, objects snap to this grid, which makes alignment much easier. If you want more freedom with placement, you can turn off snapping in the settings menu, though most creators keep it on for cleaner level design.
Zooming in and out is your best friend here. Zoom in when you need precise placement for tricky jumps or tight spacing. Zoom out when you want to see the bigger picture of how your level is shaping up.
Working With Layers
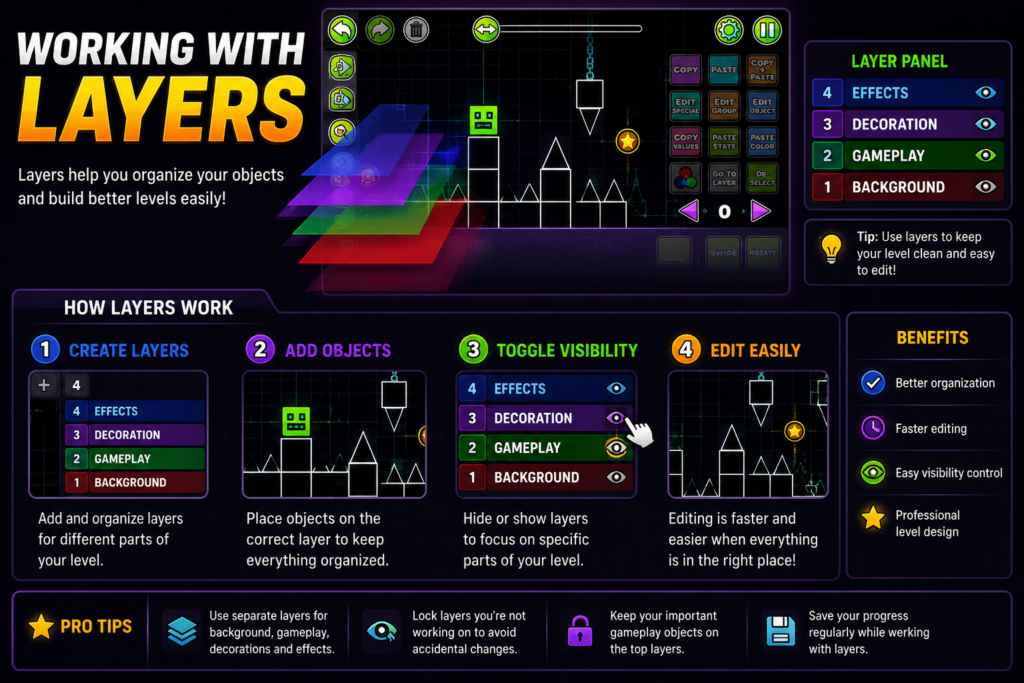
As you get more comfortable, you will want to start using layers. Layers let you place objects behind or in front of your main gameplay path, which is how creators add depth and visual interest to their levels without affecting the actual gameplay.
Background decorations usually go on layers behind the player. Foreground effects, like objects that pass close to the camera, go on layers in front. Keeping your gameplay objects on the main layer and your decorations on separate layers makes editing much easier later, since you can show or hide layers while you work.
Using Triggers to Control Your Level
Triggers are what take a level from basic blocks and spikes to something that actually feels alive. A trigger is an invisible object that activates an effect when the player reaches it.
Color triggers change the background or object colors as the player moves through the level, which is one of the easiest ways to make a level feel more polished. Move triggers shift objects on screen, which can be used for simple animations or more advanced gameplay mechanics. Camera triggers control how the camera behaves, useful for dramatic reveals or guiding the player’s attention.
Start simple. Add a single color trigger at the beginning of your level and see how it changes the feel. Once you understand how one trigger works, combining multiple triggers becomes much more intuitive.
Adding Music and Sound Effects
A level without music can feel empty. RGDPS lets you select from a built-in library of songs to sync with your level. Once you pick a track, you can use it to time your obstacles and effects to the beat, which is what separates a good level from a level that feels truly designed.
To sync gameplay with music, listen to the track a few times first so you understand its rhythm. Place your trigger points and obstacle timing around the beats and drops in the song. This takes practice, but even basic syncing makes a noticeable difference in how a level feels to play.
Common Beginner Mistakes to Avoid
Every creator makes mistakes when they are starting out. Knowing the common ones ahead of time can save you a lot of frustration.
Building too fast without testing is probably the most common issue. It feels productive to keep placing objects, but if you do not test as you go, you might build twenty seconds of level around a spacing mistake that makes the whole section unplayable.
Overcrowding a level with too many objects close together is another common trap. More objects does not always mean a better level. A clean, well-spaced design is usually more enjoyable to play than a cluttered section packed with decorations.
Ignoring difficulty progression is also worth watching for. A level that starts impossibly hard and never lets up tends to frustrate players quickly. Most well-designed levels ease players in before introducing harder sections.
Saving and Publishing Your Level
Once you are happy with your level, save it regularly as you work so you never lose progress. When it is finished, you can publish it directly from the editor menu. Give it a clear name, write a short description, and choose a difficulty rating that honestly reflects how challenging it is.
After publishing, your level becomes part of the RGDPS community catalog, where other players can find it, play it, rate it, and leave comments. This is genuinely one of the most rewarding parts of using RGDPS. Watching other players enjoy something you built from scratch is a different kind of satisfaction than just playing levels yourself.
Tips for Improving as a Creator
Building good levels takes practice, just like getting good at playing them. Play other community levels regularly and pay attention to what makes them work. Notice how experienced creators handle spacing, trigger timing, and visual design, and try applying similar ideas to your own levels.
Do not be afraid of starting simple. Your first few levels do not need to be masterpieces. Focus on clean gameplay and steady improvement rather than trying to create something incredibly complex right away. The editor rewards patience, and the creators with the most polished levels usually got there by building a lot of smaller levels first.